How to add borders to a quilt
A border is a frame of fabric strips around the quilt top. The secret to a border that lies flat is to cut it to the measurement through the middle of the quilt, not along its edges, which stretch as you sew.
By Editorial Staff
Adding a border
Measure the quilt top from top to bottom in three places: near each side and through the middle. Use the middle measurement, or the average if they differ by more than ½".
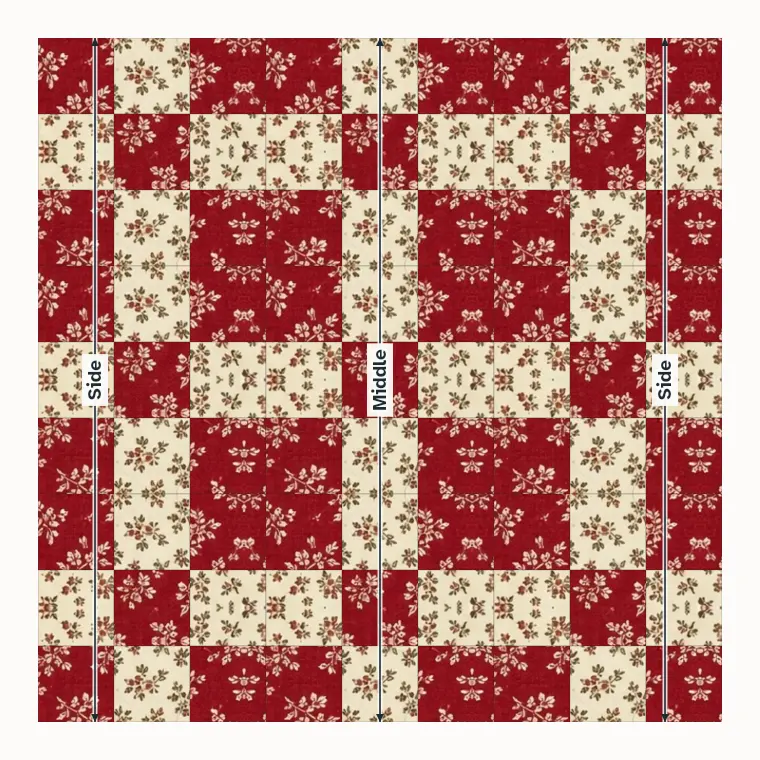
Cut two strips to that length and sew them to the sides. Pin the middles and ends first, then ease any fullness in between. Press toward the border.
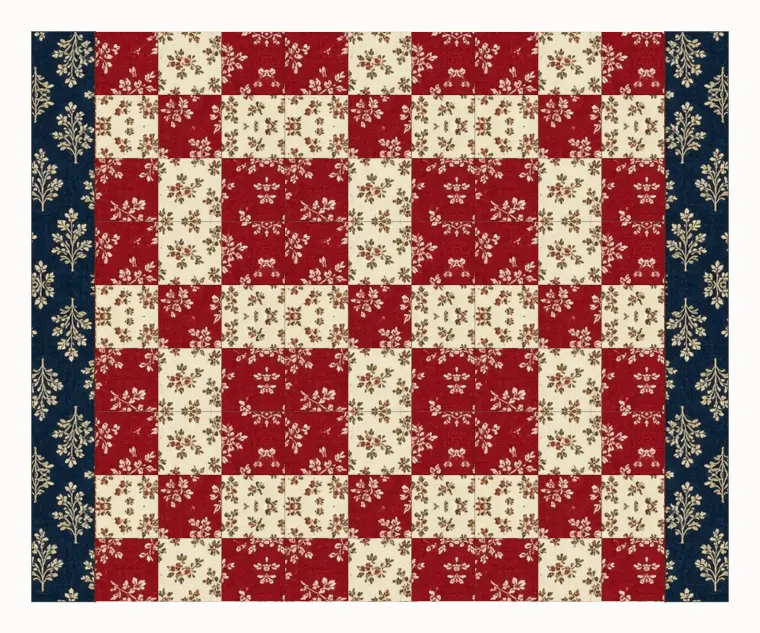
Measure across the middle again, now including the side borders, and cut and sew the top and bottom strips the same way.
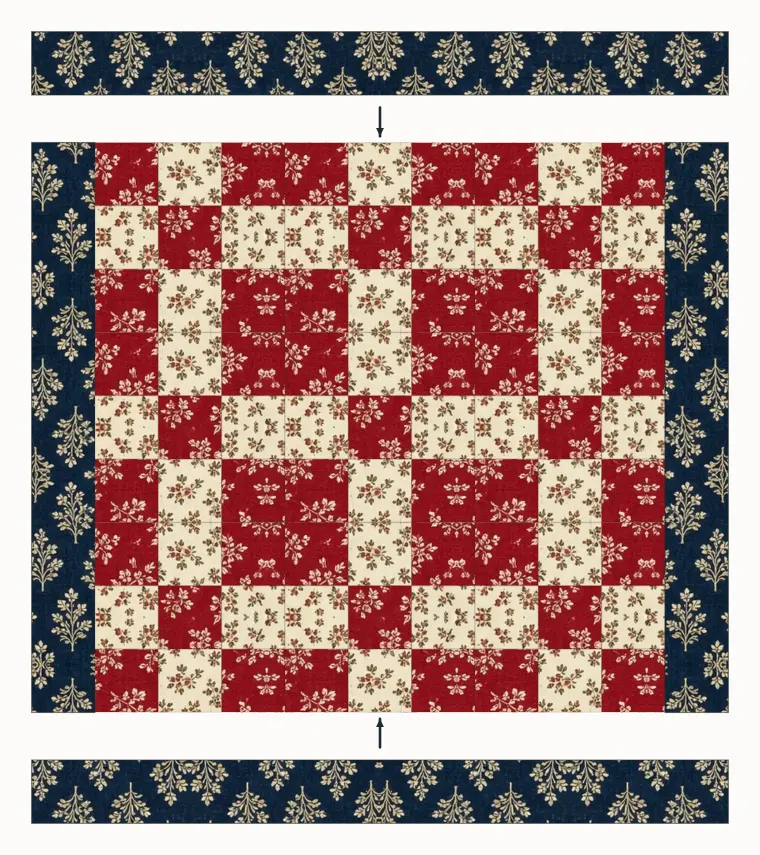
Border strips for a 4" border
| Size | Quilt top | Strips 4½" × WOF | Sides | Top and bottom | Fabric |
|---|---|---|---|---|---|
| Crib | 37" × 52" | 5 | 52½" | 45½" | ¾ yd |
| Throw | 52" × 64" | 6 | 64½" | 60½" | 1 yd |
| Twin | 62" × 82" | 8 | 82½" | 70½" | 1¼ yd |
| Full | 76" × 88" | 9 | 88½" | 84½" | 1¼ yd |
| Queen | 82" × 100" | 10 | 100½" | 90½" | 1½ yd |
| King | 100" × 100" | 10 | 100½" | 108½" | 1½ yd |
The quilt top is the size before the border. Strips are joined end to end before cutting the lengths; join with a diagonal seam so it shows less.
The quilt border calculator works out any width, with or without corner squares.
Plan your next quilt in your own fabric
Quiltspiration draws any pattern in the fabric you own and works out the cut list for any size.